Thursday, August 4, 2011

Takeout..at Home

Chinese takeout has gotten a bad rep.  Known for it's fatty, fried, "non-Chinese" appearances, Chinese takeout is not always viewed as the most tasty, or healthy for that matter, ethnic food.
But here's an exception. Omigoodness people, this is amazing.  In fact, both my roomie and Pat claim that this is their favorite recipe that I make.  Wait, what about this and this or THIS? O well, to each his/her own : )

Sweet and Sour Chicken
Adapted from Mel's Kitchen

2 chicken breasts
Salt And Pepper
1 cup Cornstarch
1 egg
¼ cups Canola Oil

FOR THE SAUCE:
1/2 cups Sugar
4 Tablespoons Ketchup
½ cups Vinegar (I used red wine vinegar, but you can really use whatever you have on hand)
1 Tablespoon Soy Sauce
1 teaspoon Garlic Pepper

Preheat oven to 350 F.  Heat canola oil on stove top.  (Note: the first time I made this, I used olive oil, but it didn't crisp up the way it should! Therefore, I highly recommend using Canola or vegetable oil for pan frying.)

Cut chicken up into chunks.  Sprinkle with salt and pepper.  Dip in egg wash (lightly beat egg and add a tablespoon of water).  Dredge in cornstarch.
Pan fry the chicken pieces in the oil.  Do this for 4 minutes or so; until the outside is brown and crispy but the inside is still uncooked.  Place chicken in a cooking pan.
Mix sugar, ketchup, vinegar, soy sauce, and garlic pepper in a bowl.
Pour over chicken. 
Cook in the oven for about 20 minutes, flipping halfway through.  Serve over rice (or if your roomie can't wait that long..eat it by itself!).

You can also make a double batch of this sauce and cook it in a saucepan until it is thickened.  However, this amount works for us, and we just spoon the leftovers in the pan onto the chicken! 
The sauce is right on, and you really will want to eat it with a spoon!  This stuff tastes exactly like the sweet and sour chicken from your favorite Chinese restaurant (without the questionable meat or extra calories from frying!).  It is so delicious, and since you can control the ingredients that you are using, it is much healthier (and cheaper!) than the takeout version.

Enjoy!

Tuesday, August 2, 2011

Lemon Yogurt Cake

Ever have a day that just draggedddd? I can't believe it is only Tuesday!

After a long week that still has a long way to go, it sure means a lot to come home to something as delicious and as flavorful as it was the first day you made it!
Taken from Ina Garten's cookbook, Barefoot Contessa at Home, Lemon Yogurt cake is a fail-proof recipe that I have used countless times to get rid of the last stubborn lemons and leftover plain yogurt from the week.  It lasts for days, staying moist from the glaze that you drizzle over it shortly after baking.

Enjoy!

Lemon Yogurt Cake
By: Ina Garten
1 1/2 cups flour
2 tsp baking powder
1/2 tsp kosher salt (I ground it a little in my mortar and pestle to ensure that the granules dissolve)
1 cup plain yogurt
1 1/3 cups sugar, divided
3 extra-large eggs
2 tsp grated lemon zest (1-2 lemons, depending on size)
1/2 tsp vanilla extract
1/2 cup vegetable oil
1/3 cup freshly squeezed lemon juice (using the lemons that you zested!!)

Glaze (optional)--with the sugar/lemon mixture after baking, I omit this glaze, but it looks delish!
1 cup confectioners' sugar
2 tablespoons lemon juice

Preheat oven to 350 degrees.  Grease and flour a loaf pan.

Sift flour, baking powder and salt in a bowl.
In another bowl, whisk yogurt, 1 cup sugar, eggs, lemon zest, and vanilla.

Mix dry ingredients into wet ingredients.
Fold in vegetable oil.  
Pour in pan and bake for 50 minutes.
While the cake is in the oven, mix 1/3 cup lemon juice and remaining 1/3 cup sugar on a stove until sugar is dissolved.
Cool for only a few minutes (5 ish) and then drizzle lemon and sugar mixture on cake.  Let cake cool.
If you wish to use the glaze, mix powdered sugar and lemon juice together, and then pour over cake.

Enjoy!
This is the lemon cake at almost 4 days old--YUM
Hello there, beautiful!

Not only is this cake delicious, but it is healthy too---it has fruit and nonfat yogurt!!! The sugar/ lemon glaze is key, which keeps the cake moist for days (if it lasts that long)!  Ina Garten, flawless as always, has done it again!

Monday, August 1, 2011

O Monday, Monday

Ever have a case of the Mondays?  Well here's a remedy that will be sure to get you out of the slump! 

In just 5 minutes, you can have a delicious drink that will be sure to bring you back to happier days....like when you were on vacation.   I had a similar drink when I went to Nantuckett, with the boy, Liz, and Lloyd.  It had tequila, blueberries, and mint--sooo good! After seeing Jess doing a margarita with strawberries, I knew I had to try to replicate the drink that I had when I wasn't working...for two weeks...and my idea of a busy day was walking on the beach.

I had one of these on Saturday while watching Beauty and the Beast--this may sound juvenile, but I am a firm believer that Belle is the best princess...  She read books, wouldn't settle for that jerk Gaston, and looked past outside appearances to the big heart that was the beast!
Source
*Le sigh*

Anyways.. I hold firm to the fact that since alcohol was involved, this was an activity that adults can do without being embarrassed and I highly recommend it!!

Especially when you drink this...
Blueberry Margarita
Inspired by How Sweet Eats 
1.5 shots of Tequila
2 shots of Cointreau (or if you aren't a grad student...Grand Manier)
2 shots lime juice
2 shots blueberry simple syrup (recipe below)

For simple syrup, start with this as a base.  ----I made a huge batch of this about a month ago, and still use it when I have a margarita craving : ) 

Add simple syrup and one cup of blueberries to a blender.  Pulse until combined.
Before
After---the color is gorgeous!
 Fill a glass with ice.  Add all ingredients.  Stir/Shake.  Enjoy!!!! 
Notice the flecks of blueberry and THE COLOR! So refreshing :)

I think this would have been fabulous with mint, but alas, I didn't have any mint.  So I added an extra half a shot of tequila to balance it out (....). 

Delish! Belle would definitely approve!


Friday, July 29, 2011

Mushroom and Onion Cheeseburger

After a week of long days—playing laser tag, going to retirement parties—I have decided to take it easy tonight : ) I have a huge to-do list for tomorrow as well, including a much needed gym session, so I want to be able to be lazy tonight! 

I also wanted to take some time tonight to think of new ideas/recipes for my food processor, as I got it in the mail today!!! Pat gave me my gift for my birthday when we were in Maine, but it needed to be shipped down here so I could use it—he was such a sweetheart and paid for the shipping. I am one lucky girl! 

I unpacked the food processor, I put it on the counter with all of my favorite gadgets.  After taking a look at my countertop, all of my fave (and most highly used) gadgets are from Pat—he’s definitely a keeper!
My Kitchenaid mixer, Cuisinart 16 cup(!) food processor,  and Wustorf knives...
the flowered bag in the back has my pasta maker...again, from Pat!

The temperatures have risen here in Virginia, with the high in my car of 108 F, so it is clearly obvious that summer is here to stay. 
Anyone that knows me will say that I am a fall and winter gal--I love months with cooler temps, crisp leaves, and cold snow.  Nothing beats it for me.  However, living in the south (yes, I consider VA the “south”), I get to appreciate summer a little longer in the year than when I was living in Massachusetts. 

Bring on the BBQ.

For tonight’s post, I wanted to give some tips on how I make one of my favorite summertime dinners: mushroom and onion cheeseburgers.  YUM.  So classic, but it never gets old.  

A few weeks ago, I went to Whole Foods and bought 8 preseasoned hamburger patties for $8! (Whole Paycheck, I don’t think so!!)  I got the chipotle burgers, with organic meat, some chipotle powder, cumin, and cayenne.  Sooo good.  
Mushroom and Onion Cheeseburger
1/2 cup sliced mushrooms 
1/4 onion, sliced
1 slice mozzarella cheese
1 hamburger patty (1/4 lb. of meat approx.)
mustard and ketchup
With about a teaspoon of olive oil and salt and pepper, saute onions and mushrooms on medium heat for about 6 minutes, or until the onions and mushrooms are cooked (but not mushy!).
Add burger patty to grill pan.  And here's the key...don't touch it for about 5 minutes!  Then flip it, and leave it again for another few minutes, or until fully cooked and it looks like this:
Love those grill marks!
Now here are where things get interesting!
Pile the mushrooms and onions on the patty, until they begin to fall off, and then save the rest for later : )
And from this angle---- 
Look how piled on they are!
Add the cheese...

Once the cheese is on, cover it for a minute or so--the cheese will melt and it will hold all the toppings inside! This is the best for when you use a hamburger bun because nothing is worse than losing half of your sandwich, where it can end on your plate, or even worse...your shirt (not that it has ever happened to me before...)!
Before
And after:
Note the "artistic" ketchup and mustard action in the top left : )
And for the first bite:
Look at how the toppings aren't going anywhere! The cheese is a godsend. Seriously.
Maybe I could get used to summer after all : )


Thursday, July 28, 2011

Smoothie Time!

Is it bad that I was a little sore today from laser tag? Not the i.cant.move.anymore. sore but the kind where you can definitely feel your muscles while walking.  Yeah, I need to start working out more.

Today continued the retirement festivities, so I was able to graze all day, eating potato salad, chips, and dessert.  With all of that sugar in mah belly, I decided a simple, refreshing dinner was needed.

The smoothie.
For some reason, I was always intimidated by smoothies.  Never made them, rarely eat them (unless they are from Robeks).

So, after eating empty calories all day, I decided to add some nutrition to my life.

Looking at a few recipes, I quickly learned that frozen fruit was best, as you don't have to add ice to the smoothies.

Using that knowledge, and starting with this recipe, I made the.best.thing.ever.

Even better than these or these.

Chocolate Strawberry and Pineapple Smoothie
1/4 cup of vanilla almond milk
1 frozen banana
1 cup strawberries
1/2 cup frozen pineapple
1 tablespoon chocolate peanut butter

Blend all the ingredients together.  (that's it!!!)

So creamy, fruity, and with a hint of chocolate, this smoothie was to die for.  It was surprisingly filling and it tasted just like something I would have gotten from Robeks, but sooo much cheaper.  And I get to pick the flavor combinations! I recommend freezing the fruit (the only fruit I didn't freeze were the strawberries) because the smoothie didn't get too thick.  It was perfect, and I am so happy I have a little left over, so I can have this on my drive in to work tomorrow.  : )

Now that I am officially a smoothie convert, I cannot wait to see what other concoctions I can make!

Legendary.

I just found my new favorite pasttime. But you have to promise not to laugh.
Please tell me that all of you have seen this show?!

A woman at my work is retiring, so to send her off appropriately, the only logical thing was to take her laser tagging (?)!!!  This is the first time I have ever played, and let me tell you, after the first game I got so intense that I started screaming “You can leave now!!!!!” to every opponent I hit…..let’s just say I enjoyed the game : ) It also was a wicked good workout (yes, I am originally from Massachusetts), as things started to get a little smelly by the second game.

Once I got home, I still had the adrenaline rush from the games, so all I could think of was having a big chunk of meat for dinner (I guess aggression brings out the caveman in me…).  Since the only thing in the fridge that was defrosted was chicken, I went with that. 

BBQ Chicken Lettuce Wraps
By: Me!
(this is for 1 serving, but can be easily doubled, or if you are feeling really hungry...tripled!)

1 Chicken Breast
1/2 cup of your favorite BBQ sauce (I used Sweet Baby Ray's; use as much to cover the chicken entirely)
1/2 Hass avocado
Squeeze of lime juice
3-4 Romaine leaves, with the stalk taken out (1 leaf per sandwich)
Sprinkle of feta
Salt and Pepper

Pound out chicken to ensure even thickness.  I used a soup can and pounded the heck out of that chicken (I think I still had some "energy" left over from the laser tag!). 
Cover in BBQ sauce and marinate for 30 minutes to overnight.  I just thought of the idea when I got home, so 30 minutes it was!
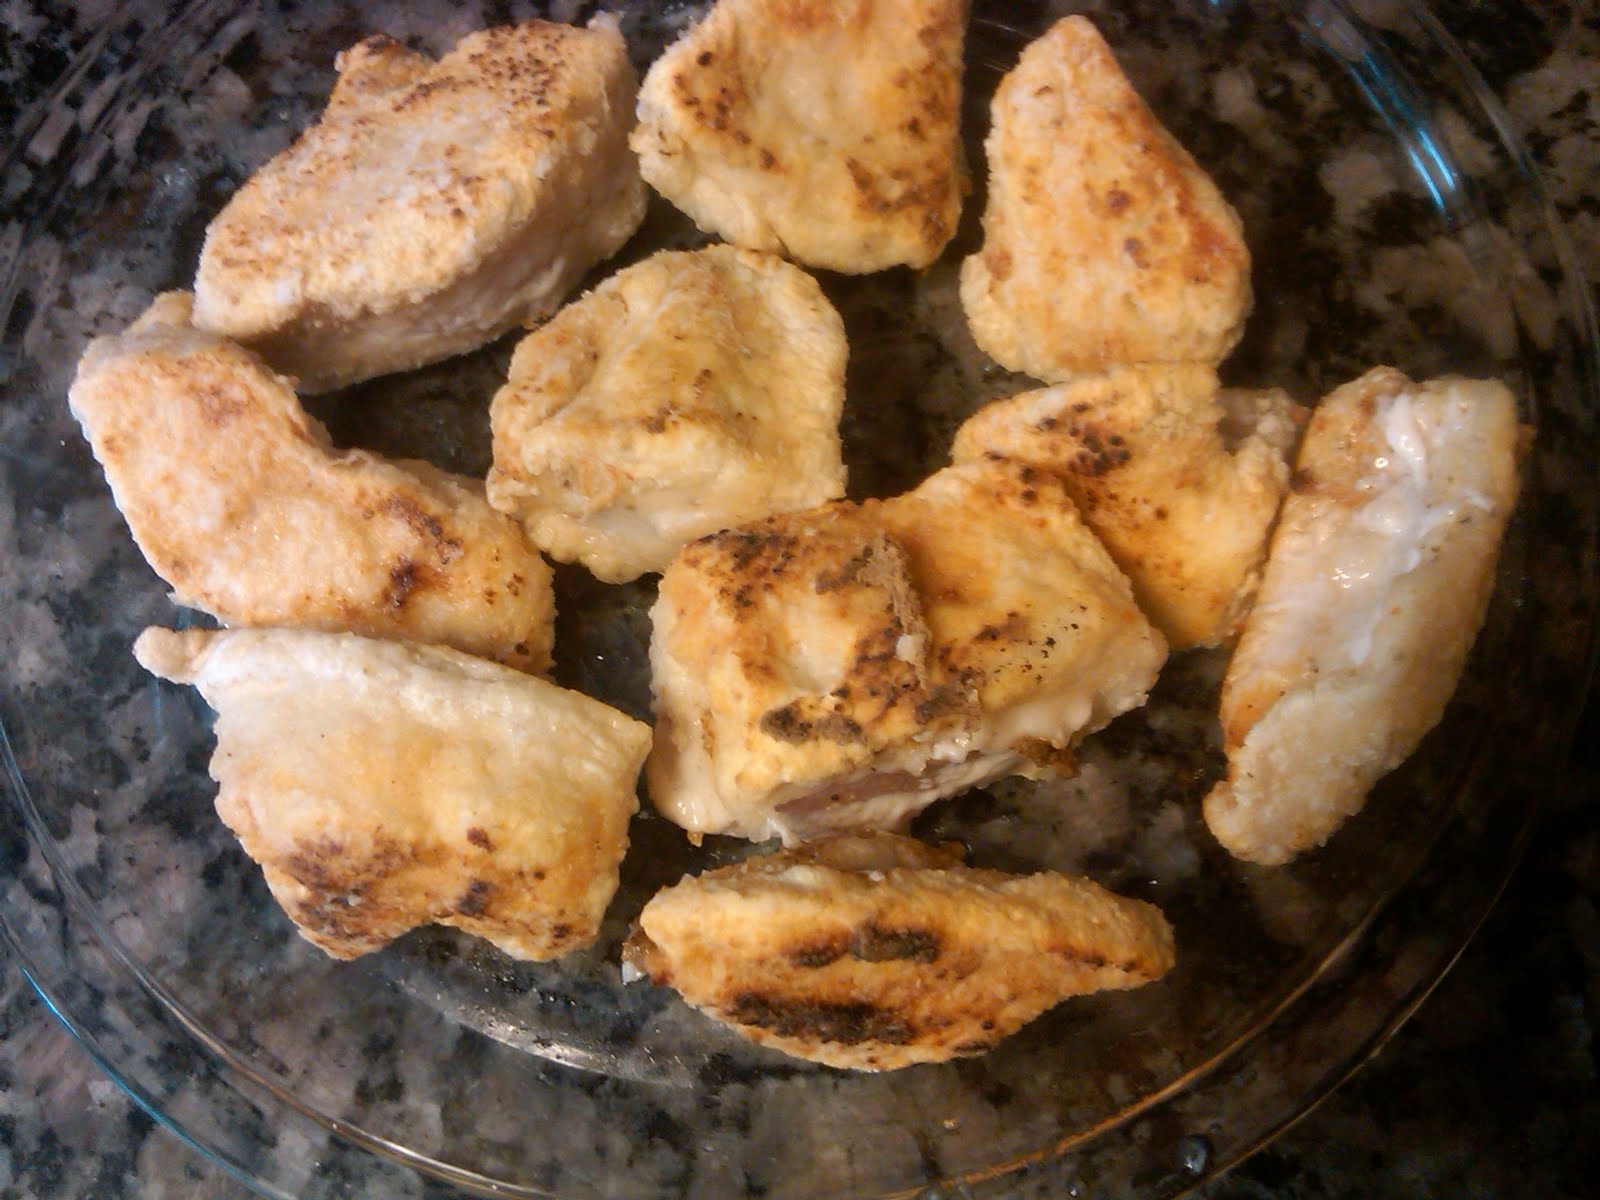
 Grill chicken until cooked, about 8-10 minutes on each side.  Let rest.

Don't worry, I didn't eat both of them--one's for lunch tomorrow!
 Cut up half of avocado and roughly chop.  Sprinkle with lime juice to prevent oxidation and add salt and pepper (I used garlic pepper...yum!).

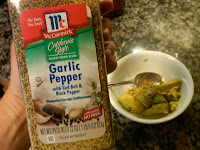
I put this stuff on.everything.

Sidenote: Check out this cool Salt grinder that my roomie
 got me for my birthday!!!
Take romaine leaves and cut out the thick stalk in the middle so you will be able to roll up the lettuce with the filling.  Lay on table and add avocados and feta.
Cut up chicken on an angle and arrange.

 Roll up and serve!
It is a little messy, but it is so crunchy and good!!!!
These are so good, folks and so easy to make! You can use basically whatever you have in the fridge for protein and veggies.  Traditionally, lettuce wraps are used with Bibb lettuce, but (once again) since I thought of the idea when I came home, I used what I had in my fridge--adaption is the key to cooking! One shouldn't spend $343 million dollars (ok, a little exaggeration) for one ingredient that you will use once, when you can substitute efficiently.  Check this website for other substitutions, or just use your noggin : )

Now on to dessert....

Kristin made cheesecake stuffed strawberries (omg!) the other day, but since I don't like cheesecake, I decided to do my own thing...with this:
I walked past this in the supermarket and couldn't leave it there with a clean conscience.  Dark.Chocolate.Peanut.Butter?!?!?!!? 

So I cored the strawberries, and spooned that magical concoction into the strawberries. 
Delish.  It would be even better with a topping of fresh whipped cream, but alas, my fridge was lacking that as well.  Maybe I should go shopping...

The pb didn't detract from the sweetness of the strawberries--in fact, it reminded me of chocolate covered strawberries, with a little "oomf".  One would think that peanut butter would clash with the strawberries, but trust me.  The peanut butter flavor isn't really prominent in this spread--the chocolate is.  And isn't that how life should be?

Enjoy!